 |
| STM32F4 |
 |
| STM32F4 Discovery |
I received my STM32F4 Discovery board few days ago. During these days I am searching for a good compiler for the STM32 which is free or provide a better code sized free version. I am already working in .Net environment using C#, and I it is pretty good. In Google search I saw STM32F4 programming using .Net, the below link.
We are using a .net port for STM32F4, it is .Net micro framework.
I am using Visual Studio Ultimate 2010 (Compatibility of others is not known).
I am using Visual Studio Ultimate 2010 (Compatibility of others is not known).
I hope you have an STM32F4 Discovery Board.
Necessary Tools
2. USB Micro and USB Mini cable.
Install all the softwares.
Step 1
Connect Board to PC using Micro USB
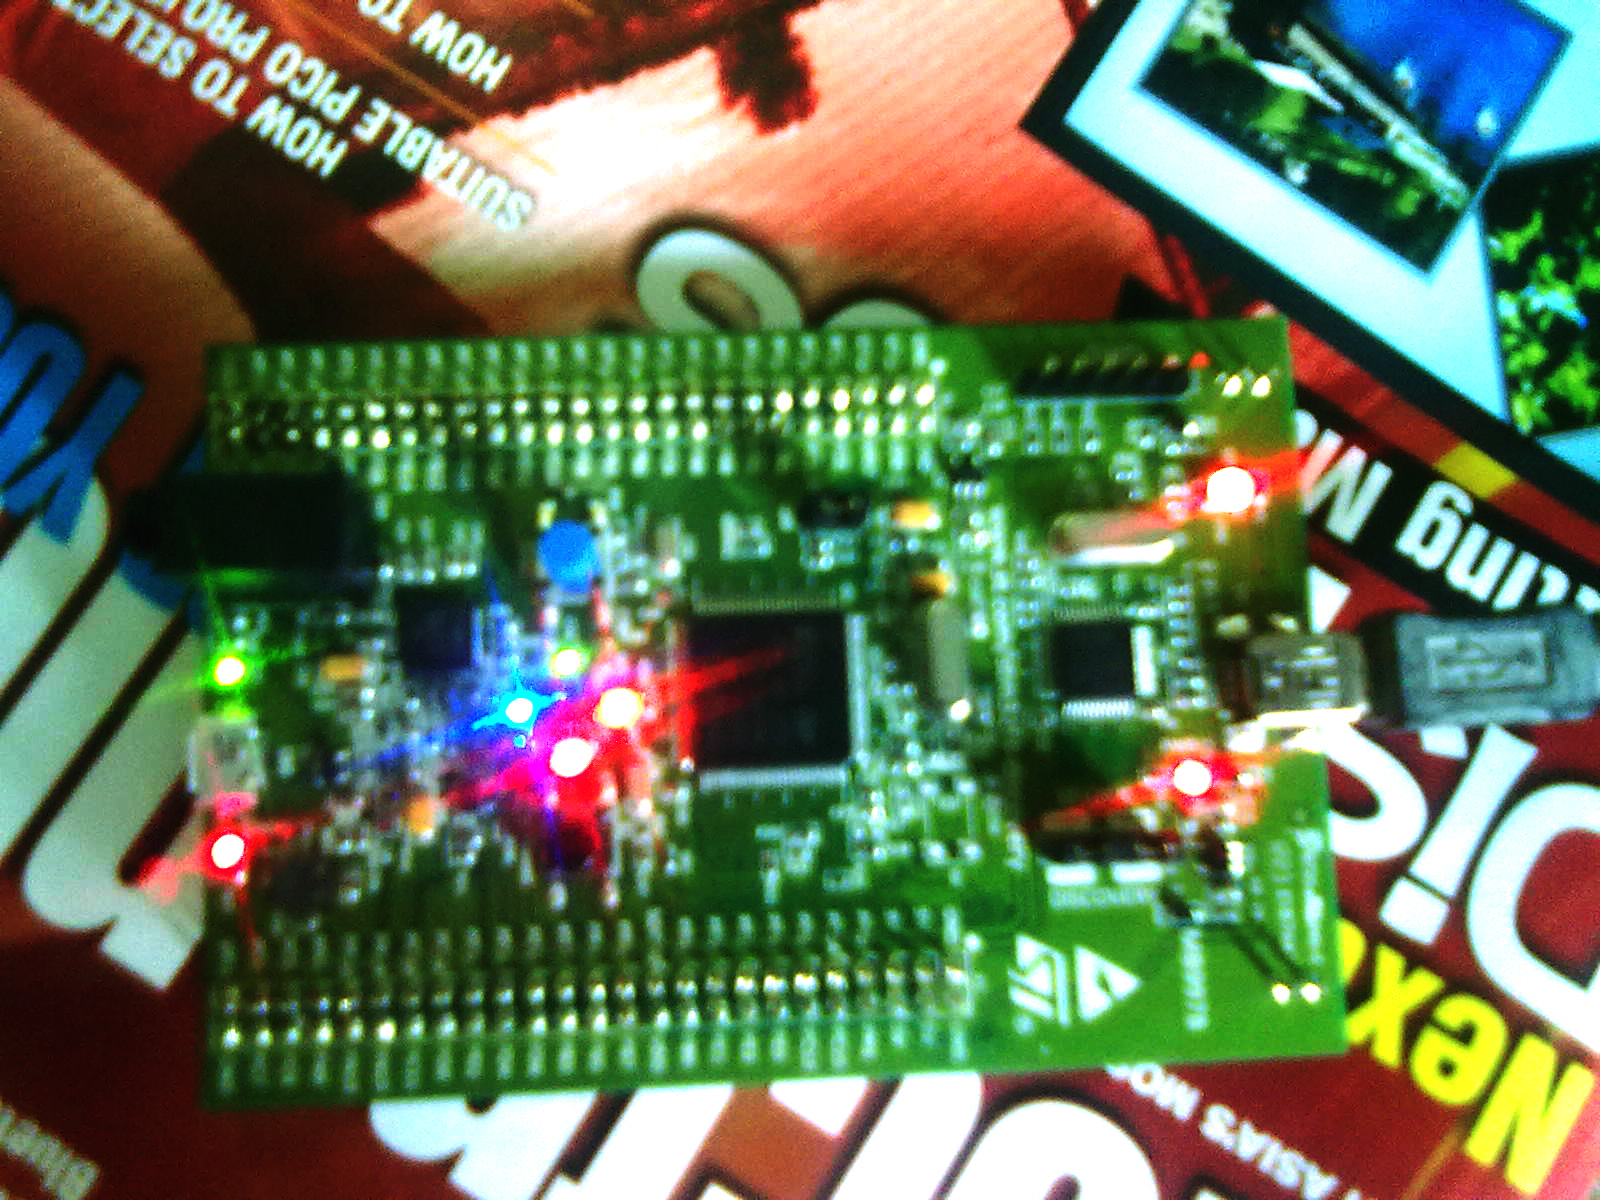
The board will get power and power LED & COM LED will be on, if your board is fresh the demo program will run blinking LEDs.
The computer will look for drivers, ( I installed the drivers included in some software already, so i didn’t seen it)
Install STM32 ST-LINK Utility you downloaded. The driver will be automatically installed.
Step 2
You need to Erase the program and Configs in the controller.
For these, open the STLink Utility from where you installed it.
Let’s first erase chip.
From Target select Erase chip ------Target > Erase Chip click Select ALL apply
After doing these you need to erase sector
For these select erase sector from target
Target >Erase sector
After these you have to load bootloader to the Discovery board.
In the stm32f4 Files.zip you will see some files: Open Tinybooter.hex in the STLink Utility
From Targets >Program
After it’s done,
Reset the board.
Step 3
After you have reset your board now plug-in the USB Micro USB and connect to PC(the other USB). Most of the smart phone cables should be Micro USB. Once you connected the Micro USB, windows will start searching for driver and will fail. Now we got to install the driver we downloaded from the zip file. “STM32_WinUSB_drivers_(for_evaluation_purposes_only) “ Folder. From device manager find the USB device then (May be its name is STM32F4 Test or unrecognized)
Double click on it, from DRIVER tab click update diver and browse it to the folder mentioned above and update it.
Doing this you can see a device as shown in pic. Control Panel> Devices and printers
 |
| STM32F4 Discovery Programming |
Step 4
Find the application Named MFDeploy.exe
Launch MFDeploy.exe (you should be able to find it in C:\Program Files (x86)\Microsoft .NET Micro Framework\v4.2\Tools\MFDeploy.exe) which you should have got when you installed the SDK. To make sure MFDeploy can see the board do as shown below.
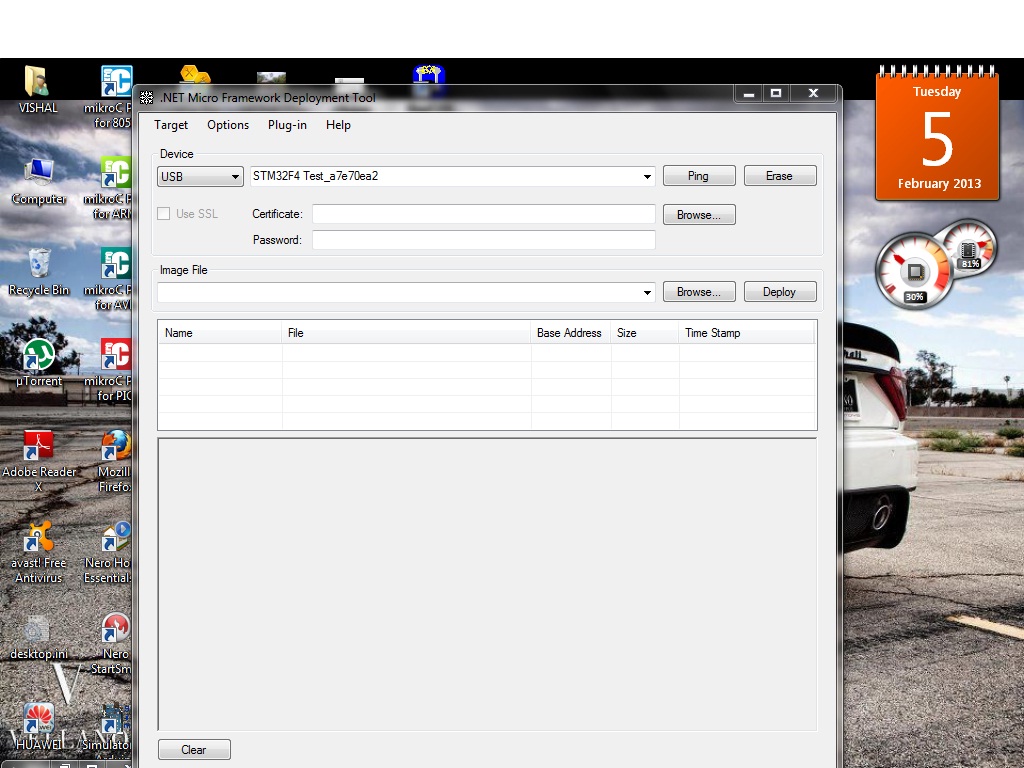

If you see the Ping the everything is good till this point. Now download the other 2 .hex ER_Config.hex and ER_Flash.hex files extracted from stm32f4 Files.zip file to the board using the MFDeploy as shown below one by one. (the Combo-box, you need to change it to USB, the STM Discovey board will be shown in right of it.)

Reset the board.
Step 5
Open Visual C# Express/ Visual Studio Select the project type as given below

Now we need to change the properties, so that the Visual Express/Studio will deploy to the hardware. So change the project properties as shown below

Add Reference Right Click On MFTest in Solution Explorer>Add Reference> Select the following sown in the figure>OK

Code
using System;
using System.Threading;
using Microsoft.SPOT;
using Microsoft.SPOT.Hardware;
namespace MFtest
{
public class Program
{
public static void Main()
{
OutputPort led1 = new OutputPort(Microsoft.SPOT.Hardware.STM32.Pins.GPIO_PIN_D_15, false); //LED Pins of Discovery Board
OutputPort led2 = new OutputPort(Microsoft.SPOT.Hardware.STM32.Pins.GPIO_PIN_D_14, false);
OutputPort led3 = new OutputPort(Microsoft.SPOT.Hardware.STM32.Pins.GPIO_PIN_D_13, false);
OutputPort led4 = new OutputPort(Microsoft.SPOT.Hardware.STM32.Pins.GPIO_PIN_D_12, false);
while (true)
{
led1.Write(true);
Thread.Sleep(500);
led1.Write(false);
Thread.Sleep(500);
led2.Write(true);
Thread.Sleep(500);
led2.Write(false);
Thread.Sleep(500);
led3.Write(true);
Thread.Sleep(500);
led3.Write(false);
Thread.Sleep(500);
led4.Write(true);
Thread.Sleep(500);
led4.Write(false);
Thread.Sleep(500);
}
}
}
}
Start debugging your code will be written to your Discovery, you can see the status at the bottom. Reset your board.
You Are Successfully Done!!!!!!!!!
Download Full Project Files
 |
| STM32F4 Discovery Board |


